
Hello my friends!
I have a very special post for you today - the brand new for 2023, Tim Holtz STAMPtember release!!! Not only do you get the awesome stamp set, you get two stencils, Distress Glow Grit Paste and Distress Sparkle Texture Paste - WooHoo!
I am so excited and honored to work with this collaboration from Tim Holtz and Simon Says Stamp! I've created four holiday themed cards for your viewing pleasure.
HOLIDAY WREATH

LAUNDRY LINE

LET IT SNOW!

DEAR SANTA

Just look at this great Holiday set from Tim Holtz!

HOLIDAY WREATH
I began with some lively ink smooshing...just wipe your pad across a craft sheet, spritz with water, then press paper into that until you get a background you like.


On my green background, I took the word stamps and went around in a circular fashion to create a wreath.

Meanwhile, I stamped the holly so it would be thoroughly dry for watercolor. I added color to all pieces by swiping a bit of ink on the craft sheet and picking it up with a water brush.

I added another layer in the background with the snowflake/star stamp. I also added texture with the Sparkle Texture Paste and one of the stencils that comes with the release.

Closeup...

I cut out a wreath shape from my stamped words and distressed the edges.

Inside of the card...hanging the stockings from the mantle...

Final steps were to stamp the words, fussy cut the holly leaves and berries and add to the wreath, along with a doodled bow. I popped the wreath up for more dimension.

LAUNDRY LINE
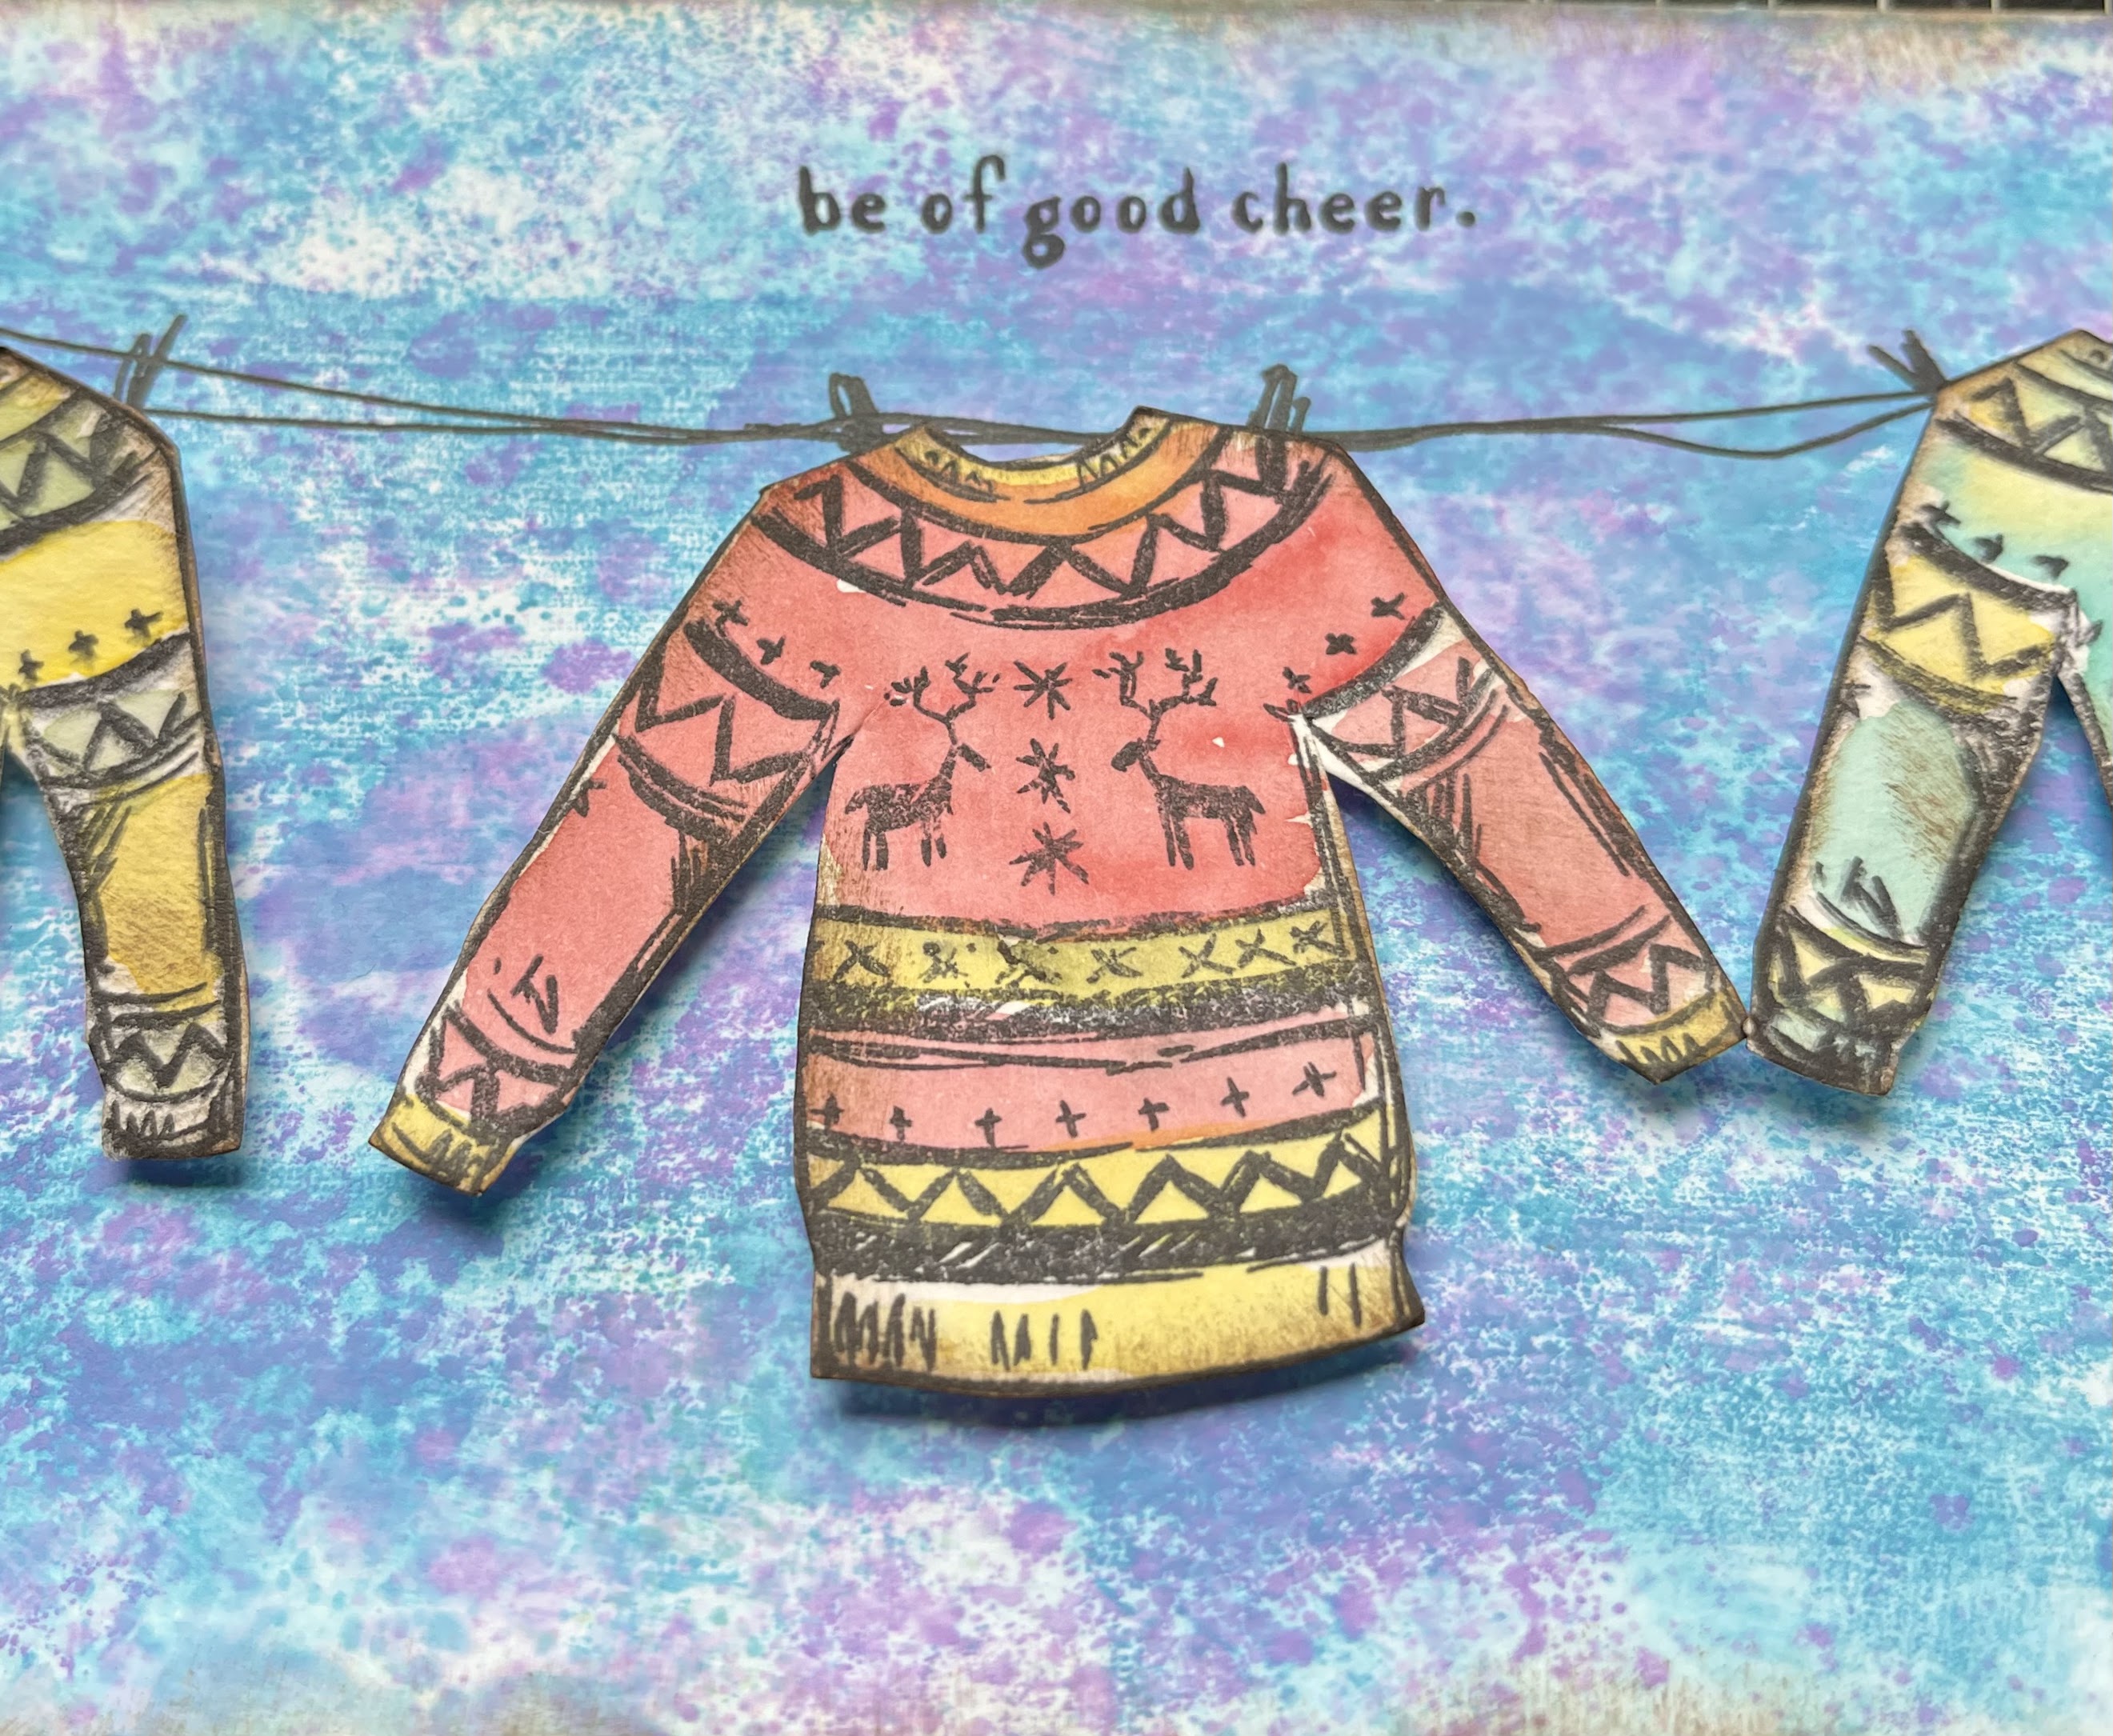
I ink smooshed the background, drew a laundry line, and fussy cut the sweaters and mittens after watercoloring them.

LET IT SNOW
I began with an ink smooshed background.

While the background dried, I swiped ink onto the mat, added the Glow Grit Paste and mixed with a palette knife. It is super simple to add color to any of the pastes like this.

I applied my mixture to the card with one of the stencils.

Closeup...

Next, I glued and popped on the snowman, presents and words. I colored two snowmen and popped up the body, leaving the broom and arms as the lower layer. I stamped the words multiple times across the paper strip.

Inside of the card...

Final step was to add a holly and berry image to the snowman's pail hat and to distress the edges of the card.

DEAR SANTA
I used the inks and a water brush to color the images, then fussy cut them out.

I added Sparkle texture to Santa's beard and one stocking. I layered it with a palette knife, and tapped on top of the paste to make it more textural.


Inside of the card...

I doodled around the card, and a mantle for the stockings. Once again, I made an ink smooshed background for this card also.

I cut a slit in Santa's bag and slid in a couple of presents so they look like they are popping out.

Four cards from one set - the amazing Tim Holtz STAMPtember 2023 release!

Insides of all cards...

I hope you have enjoyed this inspiration using Tim's STAMPtember release. I am thrilled to be able to share it with you!!
Check out all the inspiration from the designers to get lots of ideas.
Be sure to order quickly as this release goes very fast!
SUPPLIES:
Tim Holtz Distress Oxide inks - Ground Espresso, Mermaid Lagoon, Wilted Violet, Candied Apple, Rustic Wilderness, Wild Honey
Baby Wipes
Paper Towels
Thank you for stopping by, and happy crafting! Maura
Saw your card on the “Live” and loved them, great inspiration for a newbie 😊
ReplyDeleteSo glad to hear! Thanks! Maura
Delete