Showing posts with label distress markers. Show all posts

Thursday, September 20

STAMPtember Release by Tim Holtz!!


Awesome Tim Holtz STAMPtember release! 

Hello friends! Today we have something super special to share with you - the brand new release for STAMPtember at Simon Says Stamp by the super creative Tim Holtz!

My first card for the holidays is done in a grungy style with a natural feel. To me it feels like the Adirondack Mountains which is where I live. 

Update: 
Honored to have this chosen as a Splitcoast Favorite for the week of October 20th!


Inside of the card...


Details...I used the stencils in the background, and colored the stamped images, then added glitter to make it look wintry.


Card with matching envelope


Supplies I used to create this card.


My second holiday card is cheery and bright and in non-traditional colors, all tied up with a pretty pink hand dyed ribbon.


For my background, I dripped the ink directly on to the Yupo paper, then added some drops of the blending solution.


I stamped the music design with the alcohol lift ink for the background - isn't it cool?


What a beautiful stamp set and stencils, right?!


Supplies I used to make this card...


I hope you've enjoyed my holiday creations using Tim's special STAMPtember set!
 Thanks for stopping by! Maura

Be sure to head on over to the awesome Simon Says Stamp store to check out the newest release for this month!


Monday, April 24

We've Got Your Number


We've Got Your Number!


Hello Monday! It's time for a brand new challenge this week and we are all about numbers. Easy, peasy - just add a number anywhere on your project and join in the fun! 

It's been an awesome month with our guest designer, Amy! I  have really enjoyed her creative takes on our challenges, and wish her the best! 

So...when I thought of numbers, I thought of telephone numbers...maybe because I really do not like to talk on the phone, and ours has been ringing a lot lately. Time to make a negative into a positive and think about the opportunities for growth a phone call may send! There's a lot of loose threads in life, so when your number rings, be sure to answer! 


No ringing phones, so let's get to work! I stamped the images onto watercolor paper with my archival black ink and MISTI. I own three distress oxide inks, so of course, I had to use them all on the phone.


I colored my positive woman with distress crayons in funky colors, rubbed them in as well as using the water brush with them.


Tag time! I started with a tag I had gessoed and began building up layers with ink and stamps and stencils.


More distress crayon? Why yes please!


Let's add in some more numbers!


Loops of black craft thread stapled on...


More numbers, threads...


Oh look, I have #'s 1-6! I didn't even see this until I was done.  So, be brave, make room for growth, pull the threads of life together, maybe even answer that phone, because we've got your number! 


I had a lot of fun this week with numbers, now it's your turn to play! Come join us in this week's fun challenge and you could win the $50 shopping spree with Simon Says Stamp! 


SUPPLIES:  


A great place to shop!!


Simon is on Instagram! Use hashtag #sssmchallenge when sharing so we can find you.


The DT has your number! Let's head back over there to check out their wonderful creativity! 


Sunday, March 12

Some Bunny


Getting ready for Easter with this cute card I made using the Simon Says Stamp March Card Kit, and the New Beginnings Oval of Flowers stencil. 

Stenciled the background paper with Distress Ink - Twisted Citron, and used the MISTI and Simon's Black Dye ink for the words and images. Layered it up and watercolored the bunny with Distress Markers. 

I'm teaching classes at my local school district for Wellness Day, and this is one of a trio of cards we will be making. I hope my students like it! 

You can see all three cards I made on my Classes page here.

Monday, February 6

Young at Heart - Let's Make Valentines!


Hello Monday! We have a brand new challenge for you this week - Young at Heart! It's all about Valentine's and we are showcasing the Simon Says Stamp brand this week! We would love to see you use your Simon projects, but if you don't have any, not to worry, join us anyway. 

We have a brand new guest designer for February - Nicola, from Dublin Ireland (one of my favorite places!) who has a great blog, Paper Profusion for you to visit. Fáilte, welcome Nicola!!


I decided to make a Valentine card box and some monster valentines. It's going to be a gift for mother and son - she gets to keep the box, and he gets the monsters!

I had a chocolate box in my stash to alter, so I began with this part of the project, figuring it would need more drying time. Lucky for me, the paper liner was still in it, because it made the perfect template for tracing the valentines, and it turned out to be a great texture tool!


I started off by covering the box with Simon's Vintage paper.


Next step, I painted it with Paper Artsy Mahogany, I didn't want it too girly with just pinks. I dry brushed the paint on many areas to keep a lot of the text visible. 


Next, I added the pinks, and used the liner (once I removed the shiny sides) as a texture tool and love the design it creates.


I added a natural ribbon around the edge and touched it with the Mahogany to keep it cohesive.


Finished up the cover with hearts from Simon's Sketch Heart and Hearts Mingle dies, stamped image from Simon's Monster Hugs, and some pops of Diamond Glaze around the edges. It's looking rather vintage, but that UBMINE? adds the young touch, I think.


I used the paper liner from the box to cut out the hearts, once I had stamped my images using my MISTI. I used Distress Markers to color, and stayed with the same color selection for all of my valentines - keeping it simple. Then I added dots of color around the edges with Ranger's Enamels. 


I touched them up with some simple embellishments and Diamond Glaze. Since I did not have any googly eyes, I tried making my own by dropping a large bubble of Diamond Glaze on the monsters' eyes, and letting it dry overnight. 


Young at Heart? I think so!


Now it's your turn to share your interpretation of Young At Heart! I can't wait to see what you do!!

As always, Simon Says Stamp will be giving away a $50 voucher to shop at their store!


SUPPLIES:


 Simon is on Instagram! Be sure to use #sssmchallenge when you share!


Wonder what the rest of the DT is up to with this challenge? me too! Be sure to head on over for lots of creative inspiration!


a GREAT place to shop!!


Monday, May 23

Make a Wish!

Hello Monday! Hello friends!
 It's birthday month at my house, so this week's make a wish challenge is just perfect! 


You might make a wish before you blow out the birthday candles, or you might create something for a wish that you have. 

 Each week, Simon Says Stamps offers a $50 voucher drawn randomly from our participants, so get creating and join in the fun!

I watched this great technique video for the Distress Crayons on the Simon Says Stamp You Tube channel by Nina-Marie Trapani, and I just had to try it out. You can check it out HERE.

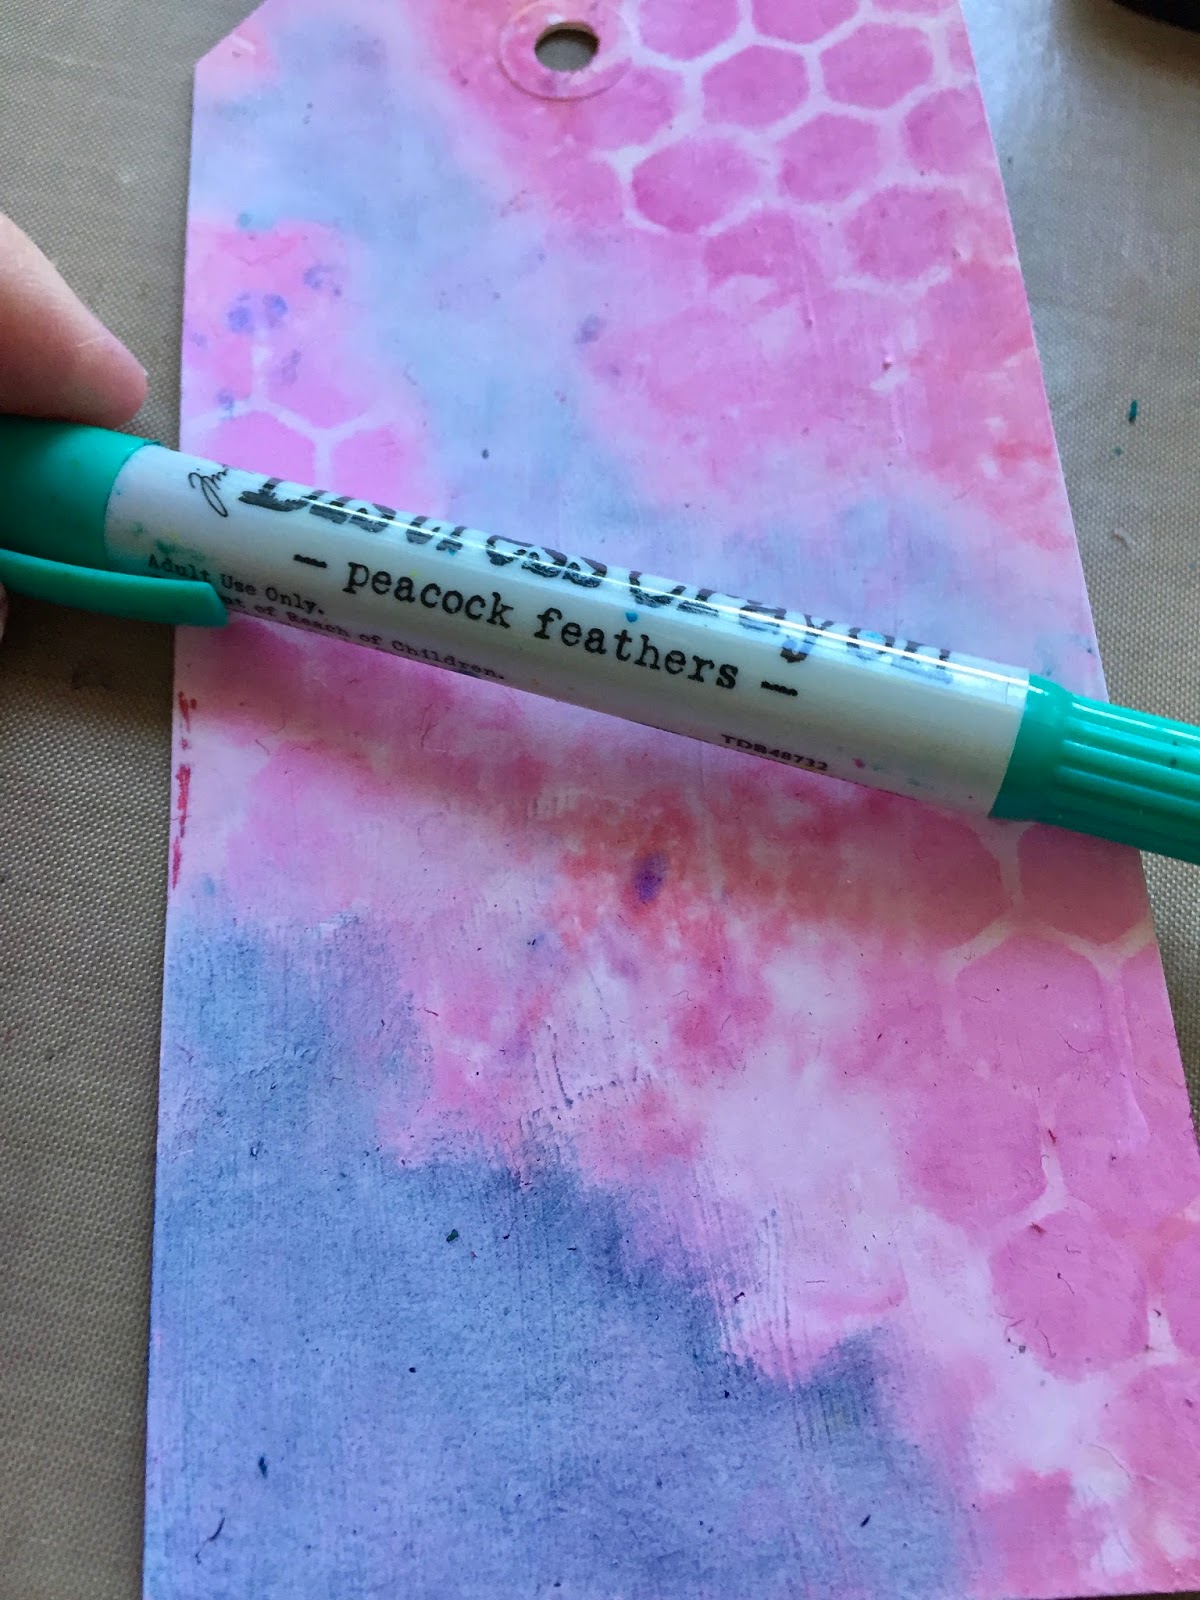
I started off with some watercolor paper, dampened it, and then used three of the distress crayons to add some color. Then I laid the honeycomb stencil on top and wiped off some of the color with a baby wipe.


I took the same stencil and laid it down again, and now rubbed some Peacock Feathers over it with another Distress Crayon, then took out the heat gun, and heated it up. Love the raised texture you get with this step.


Detail...


I decided to add this cute little pig to the card and stamped and used my markers to watercolor. I went with the traditional pink for the pig.


But... then I changed my mind when I laid it on the card, the pink just did not look right. I went in and redid the little piggy in oranges instead, and this fit much better. Time for some fussy cutting and I am ready to put the little card together.


I took out the tiny diamond stamps and stamped a few in the open area on the left - it just looked like it needed a bit more.
Final touch, a few star sequins, because while making this I also kept thinking of wishing upon a star.


I hope you have a great week, and join us in our make a wish challenge! I look forward to seeing your creation!

SUPPLIES:


A great place to shop with friendly folks!


Simon is on Instagram!


Be sure to head on over to the challenge to see the creative energy of my teamies! I always look forward to seeing how they interpret the challenge!

LinkWithin

Related Posts Plugin for WordPress, Blogger...

Pinterest