
I think it must still be the teacher in me that loves to create a new planner for the year. I used to alter my teacher's planner each year to make it uniquely mine - always easy to find in the pile! Now, I look forward to creating a calendar to keep track of all of my creative deadlines.
Inspired by my journey to India this fall, I knew I wanted to work in some of the vibrant colors I saw there, and try out woodblock printing.
FRONT cover

BACK cover

I started with this Kraft planner I found that is very similar to one I made from scratch last year - what a time saver to have it already blocked out!

Step 1 - paint a layer of gesso over the cover, not worrying about carrying it out to the edges.

Step 2 - add a layer of Titan Buff

Step 3 - make a box of orange in the center of the covers

Step 4 - Add depth to the orange with several transparent and semi-transparent fluid acrylics.

Step 5 - Add a layer of blues around the orange box.

Step 6 - Use a baby wipe or damp cloth and swipe down into the blue to create a bit of texture.

Step 7 - Add more depth to the orange with the Andy Skinner Whirlpool stencil and Q Gold.

Step 8 - Do the same step with the blue, using Andy's Bubbles stencil and the fluid acrylic. A cosmetic sponge works great with the stencil, so you can dab just a bit into it.

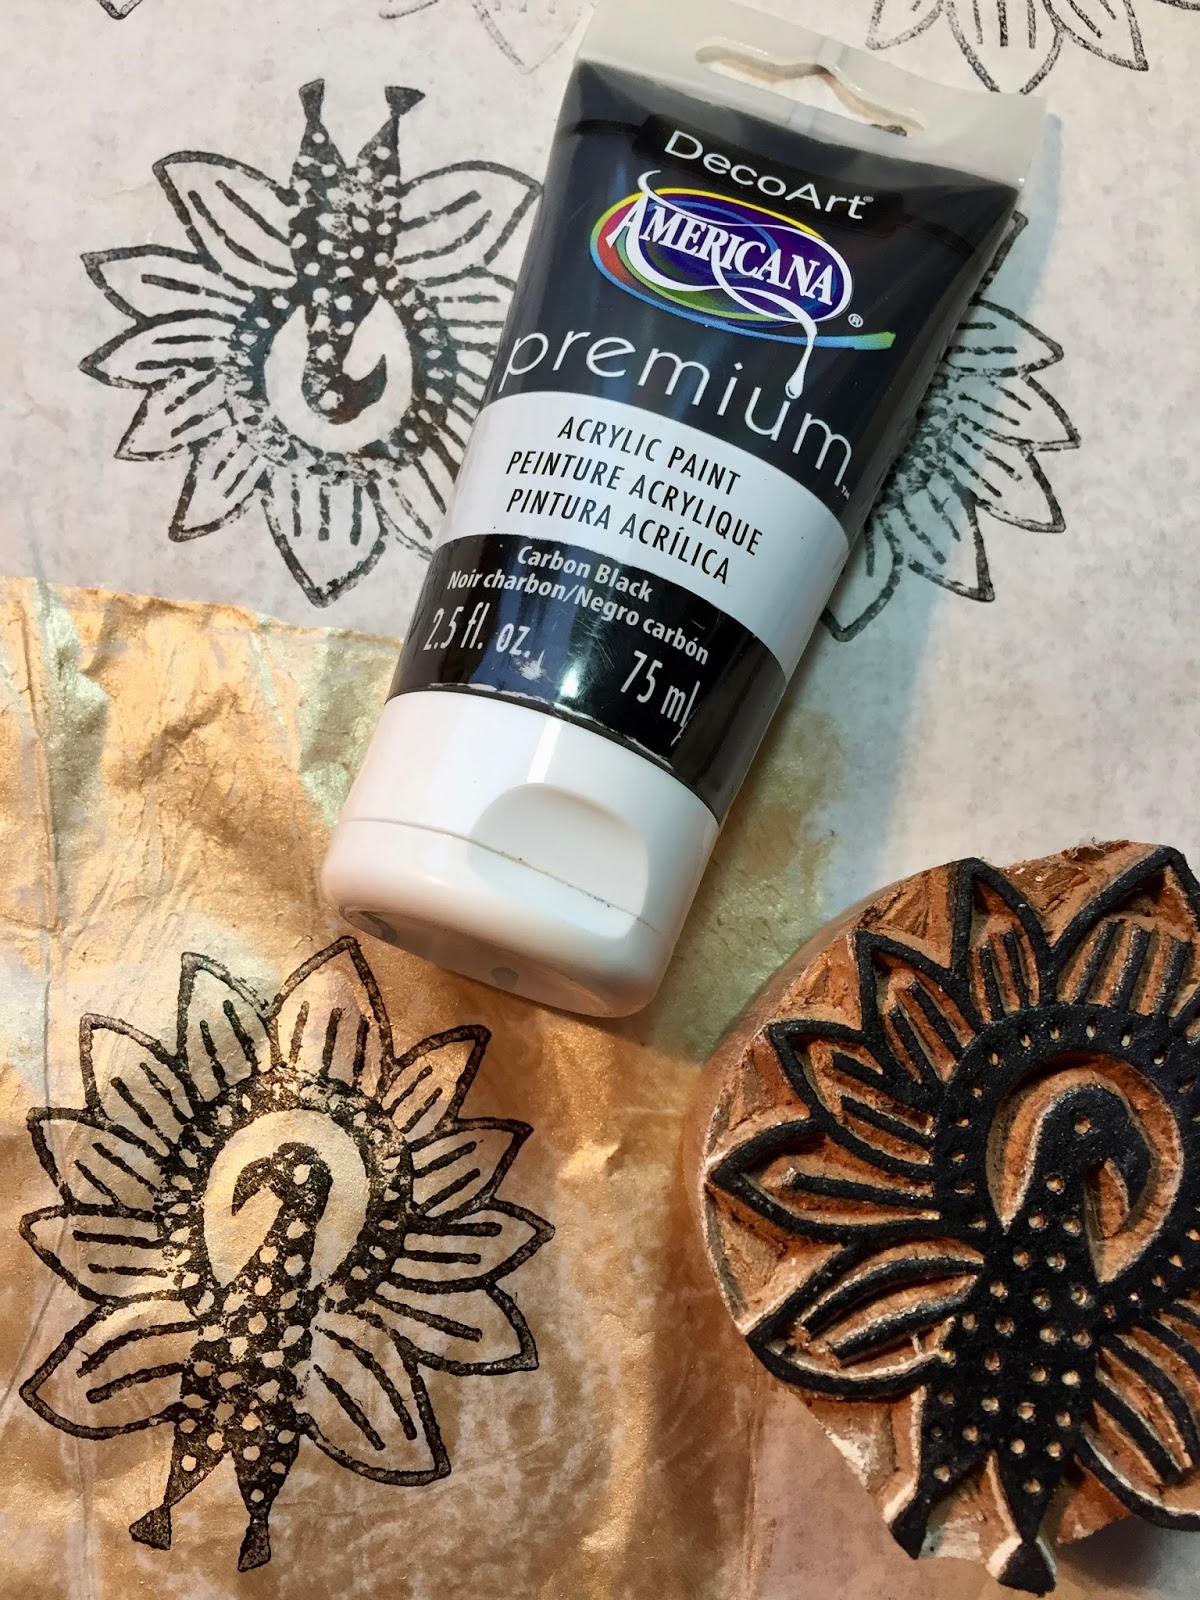
Step 9 - Time for some gold! I tried a few different techniques with the Indian wood blocks, and the best was to use a brayer to roll out the paint on a gelli plate, then brayer directly onto the block to print with it.

Step 10 - The Peacock wood block was not leaving a great impression on the orange, so instead, I stamped it onto the gelli plate, and then used that to stamp the orange section.

Step 11 - I felt like I needed more with the peacocks, so stamped them again onto leftover gold on tissue, then cut them out and used the DecouPage to attach them.
Step 12 - Add washi around the orange block.

Step 13 - My box full of wonderful goodies from and inspired by India arrived just in time from Gwen LaFleur! Inside was her beautiful Peacock Feather stencil, so I went around the edges adding in feathers.

Step 14 - Time to add more gold around the edges of the cover.

Step 15 - I cut some thin strips of this marvelous gold paper, and used the printed elephant and attached these with the DecouPage.

Step 16 - I decided to add more gold onto the washi tape.

...and the peacocks.

Closeups...


Step 17 - Create a bookmark to keep track of the month with some sari ribbon and beads.


Step 18 - I thought I was done until my son suggested adding something in to each of the months to tie the inside to the cover. I started by stencil the feathers with orange and blue.

Step 19 - Then, I used these tiny woodblocks and stamped an image onto each of the months.

I am now ready to start my planning for 2018 in my India inspired calendar!


I would love to hear what you think! Please let me know if you have any questions.
Be creative!


