Hello Monday, my friends! And welcome to another week on the Simon Says Stamp Monday Challenge. Thank you for joining us for the THINGS WITH WINGS Challenge and we hope you will all join us again this week too.
This week the challenge is: TAG IT
I've made a couple of birthday tags for my sons' birthdays.
They are such gentlemen, so these Tim Holtz gents are perfect. I tried to add in one of their interests with what I had on hand - coffee for one, and collecting in nature for the other. They have so many interests, many of them focused on the outdoors.
I began by stamping old letter writing on the tags to build a background. I love this stamp for adding background interest!
Next, I blended several paint colors over the tag.
I added some copper metallic paste and laid out my dies and tiny tags. I went for dies I had already cut and had on hand. I have to do more of this because it makes easy when creating to just reach for the dies.
I added a coffee cup and some gears on one tag. ..
and added a tiny tag with happy birthday, and a label with filed and the year.
On the other tag, I added an insect, and collect label. along with some gears.
A couple of tiny tags with happy birthday and the year finishes this one off.
Two gents are tagged for their birthdays!
As always Simon Says Stamp will be giving away a $25 voucher to shop at the fabulous Simon Says Stamp Store
Hello Monday, my friends! And welcome to another week on the Simon Says Stamp Monday Challenge. Thank you for joining us for the THANK YOU Challenge and we hope you will all join us again this week too.
It's been wonderful having Pauline with us this month sharing her amazing creativity.
This week the challenge is: MATCHED SET
I thought I had pulled out a plain sheet of watercolor paper to make my tag dies with, but when I turned them over, I discovered I had used a sheet I'd added watercolor to. Happy accident! I decided I liked the look and just went with it. I pulled out ephemera I had made earlier with the Tim Holtz Stamptember kit to embellish my tags.
Loving the watercolor look you get with Distress Watercolor Crayons and some glitter.
Each one is unique...
I layered a plant leave and flower on to of the tag after I stamped a word on each one.
Gift tags are ready!
Crafting made easy when you create multiple pieces at once so you can just pull from your stash to create.
After all, Tis the BUSY season!
As always Simon Says Stamp will be giving away a $25 voucher to shop at the fabulous Simon Says Stamp Store
Hello Monday, my friends! And welcome to another week on the Simon Says Stamp Monday Challenge. Thank you for joining us for the Have a Heart Challenge and we hope you will all join us again this week too.
Please join me in welcoming back our guest designer for the month - Cassie Lynch aka mk_knits! You've seen her gorgeous work before, so get ready for lots more inspiration from Cassie.
At the beginning of each month we showcase a company, and this month it is STAMPERIA, a favorite of mine!
This week the challenge is: FUN WITH STENCILS
I came across an old kit from River City Rubber Works in my stash and thought it was perfect for this week's challenge.This is what happens when you finally clean out your craft space (well, mostly...) - you find some forgotten treasures to work with.
Also, when I saw the Coffee and Chocolate paper from Stamperia, I knew I had to get it. I do so love my coffee and chocolate!
I'VE ADDED A VIDEO AT THE BOTTOM, SO BE SURE TO CHECK IT OUT!
Starting off by scoring and folding the tags and cutting out snippets with my Simon scissors. The light tag becomes a holder for the pencil.
Stamperia has stencils that match their papers. I'm using Simon's Pawsitively Saturated Mocha ink, and one of their small blending brushes for my stenciling.
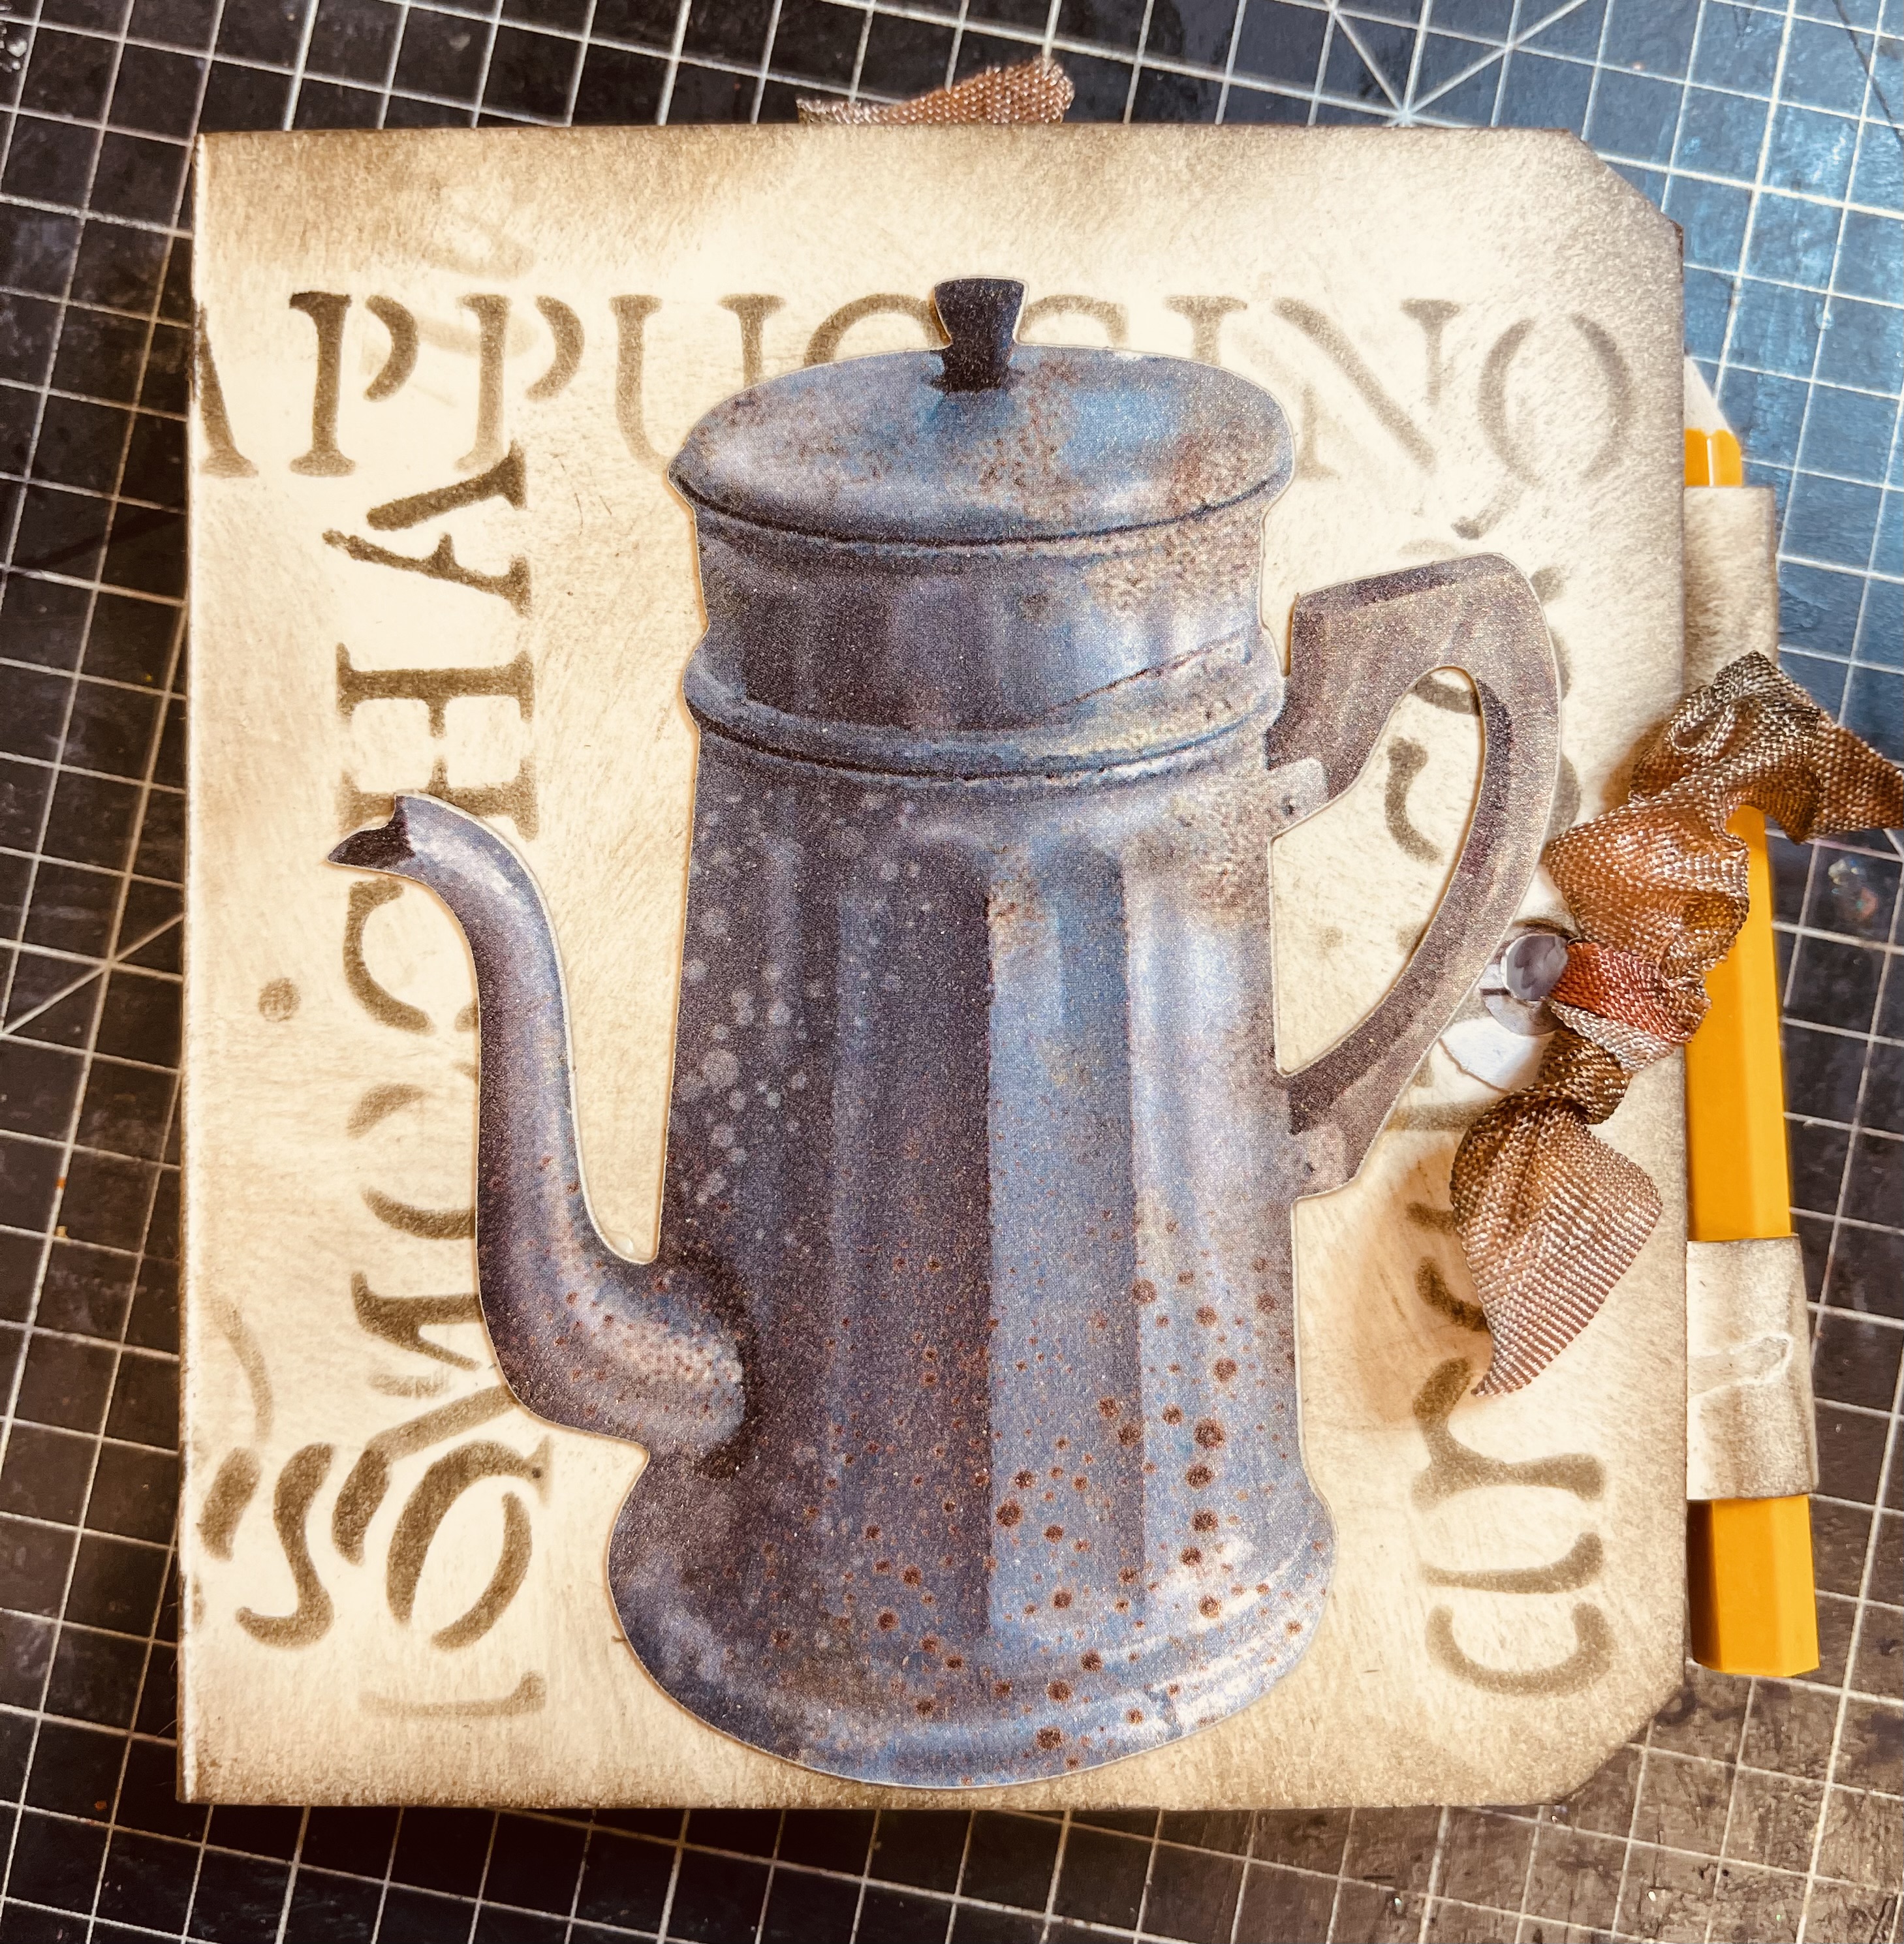
I added papers from Stamperia's Coffee and Chocolate line to the tag books, along with stenciled buts.
Outside papers...
Stenciling a tag for the front ...
....adding some hand dyed ribbon ( using the Mocha ink and seam binding), and creating a focal point for the cover. Add a stack of sticky notes inside the tag book.
Thread through more hand dyed ribbon to close the sticky note tag book.
For the second tag book, you cut a section of the tag off and into two pieces. Roll these and attach on opposite sides for the pencil.
I decided to do lots of stenciling on this one, and used both the Chocolate and Coffee stencils from Stamperia.
I added a few paper cut out embellishments from the line.
Also, I've distressed the edges of all papers and tags with the Mocha ink/
Inside with another "Latte tag" Adhere the sticky notes to the right hand side.
I added a bit of the hand dyed ribbon to the cover, and this one is held closed by the pencil.
The third book I made is a matchbook sticky note holder. I had to stencil doppio on the back, since that is my husband's favorite coffee.
Here are the backs of each of the three tag books.
Covers...
COFFEE AND CHOCOLATE TIME!
and...I've even put together a little video to take you through the tag books!
As always Simon Says Stamp will be giving away a $25 voucher to shop at the fabulous Simon Says Stamp Store