Showing posts with label Snapping Monsters. Show all posts

Wednesday, January 3

Inspired by Creative Jumpstart 2018!


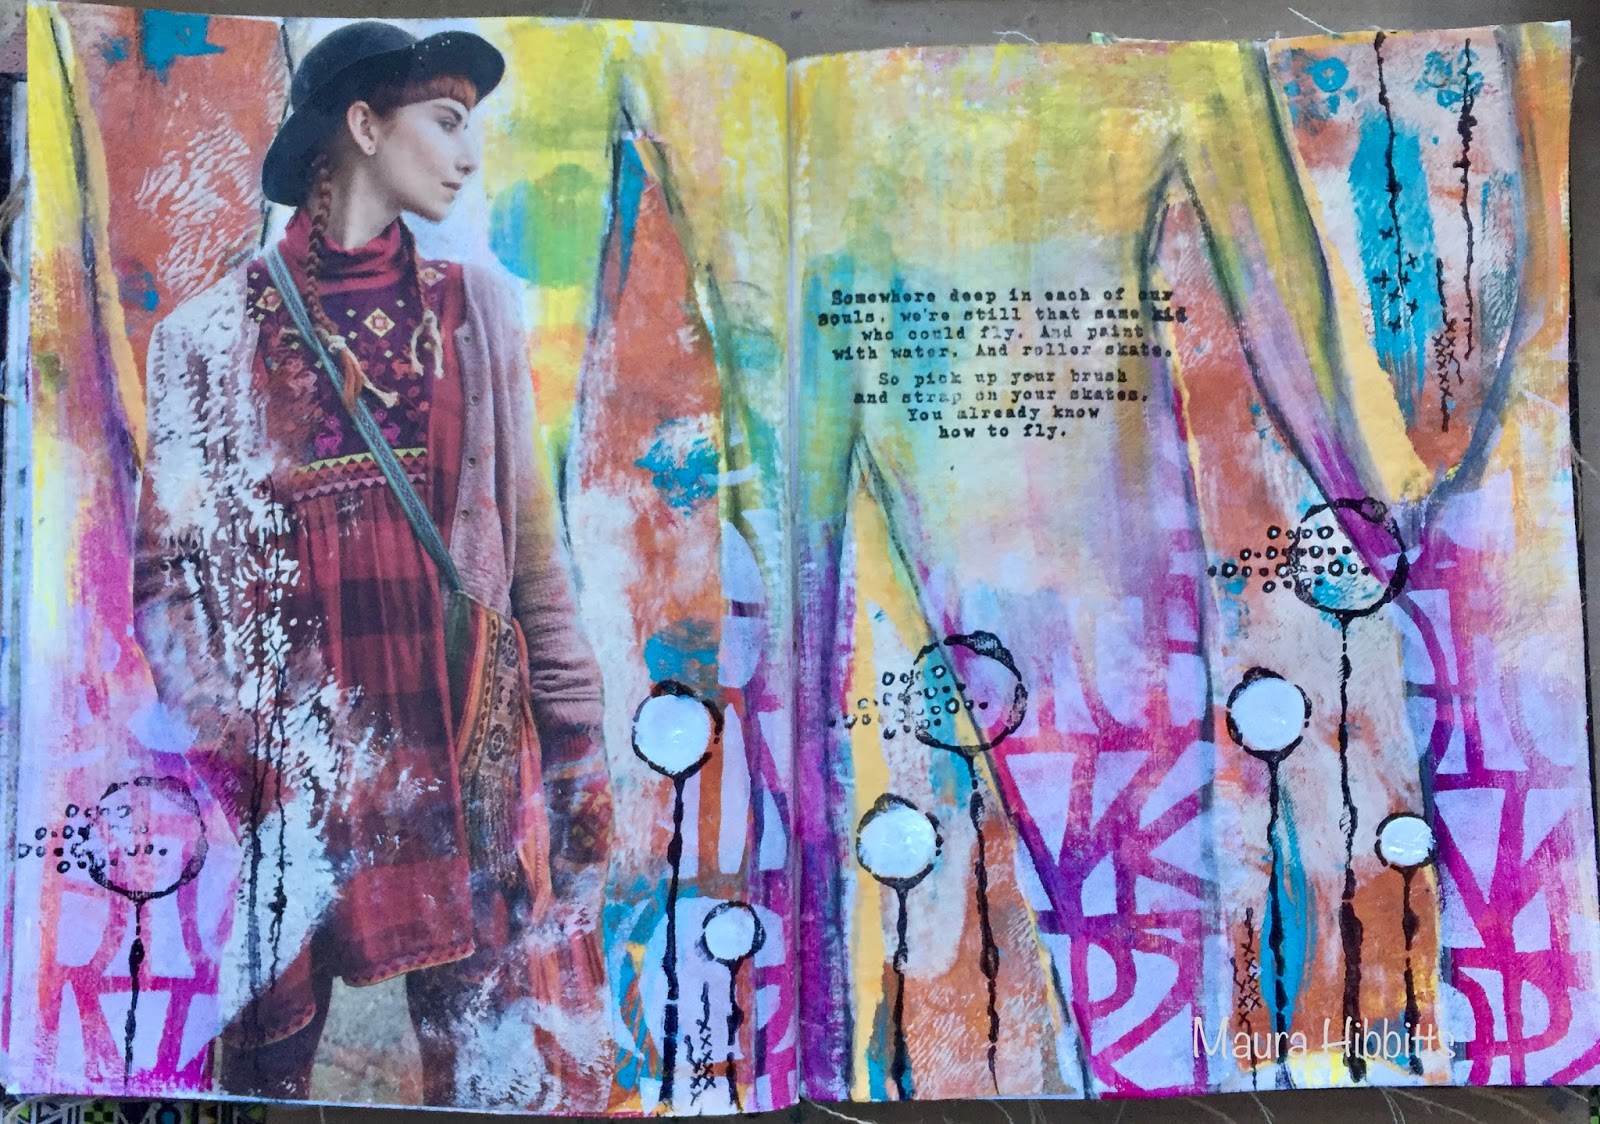
 It's cold here, heading into -15F by Friday night, so it sure is a good time to stay inside and play. I was inspired by Carolyn Dube's class today on Creative Jumpstart 2018 that Nathalie Kalbach offers in January,  to get out my art journal and paints and just play. I am so happy I did, I love how this turned out! Thanks Carolyn!

When it's cold outside, grab the bright colors to play with! I'm using my DecoArt Americana Premium heavy body acrylics.


I chose Primary Yellow, Cadmium Orange Hue, Quinacridone Magenta, Cobalt Teal Hue, Copper, Titan Buff and Titanium White. I also used the DecoArt Decoupage to adhere papers.


Stamps are by my friend, Andrea Ockey-Parr at Snapping Monsters. I'm using stamps out of three of her stamp sets.
When I read this one, it was perfect for these art journal pages!


These bubble stamps are some of my favorites.  
You can also see some of the stenciling I did. (Stencil Girl)


Andrea even has these cool stitched stamps, and I had to use them!


This image is from a Gudrun Sjoden catalog. I save the old catalogs to use in my art because I like the images and also the non-glossy pages.


Let yourself go and play creatively! 
If you are like me, sometimes I know where I am headed with an idea, and other times I don't. My Muse took me right off my path and on to a much more artsy one.


Friday, May 19

Guest Blogger at OOAK Artisans Today!

Hello friends! 
Today I have the honor of being a guest blogger with OOAK Artisan Showcase. 
Shelley Graham Turner, an artist herself is on a mission to share art with people of all ages. I met her at the wonderful Color Crush workshop she organized, and she is brimming with ideas, and she and I both love the color green! Please head on over to OOAK to see what I have made!


I have a friend who is retiring from many years of teaching, and I wanted to create a unique gift for her. A local motel always has great seasonal quotes on their sign, and when I saw this one, I knew I had to make something using it - "Live Life in Full Bloom."


Time to play with flowers and colors! I started with this flower mask and used a palette knife and modeling paste to get the flowers defined. Then, I decided to use the knife and spread more paste randomly on the canvas for textures.


First color layer - greens! We have to start with our favorites, right Shelley?


Next up - oranges!


And I have to include pinks, because my friend loves pink!


Time for some black and lots of stenciling. I love to use a cosmetic sponge with just a bit of the paint and dab through the stencil.


Stencil white flowers over it to add another layer.


Now, for a bit of smudgy green and stamped leaves.


I felt the need to add in more flowers and more pink, so mixed up some pink and smudged it in across the center, let it dry and then stamped.


Since my white flowers disappeared into the background, I stenciled more in again on top, doodled around the big flowers, and dusted them with gold.


Smudged a bit more green in, and more stenciling with the black. I don't know about you, but sometimes I have a hard time knowing when to stop and move on!


Unify it all with a bit of black mister...


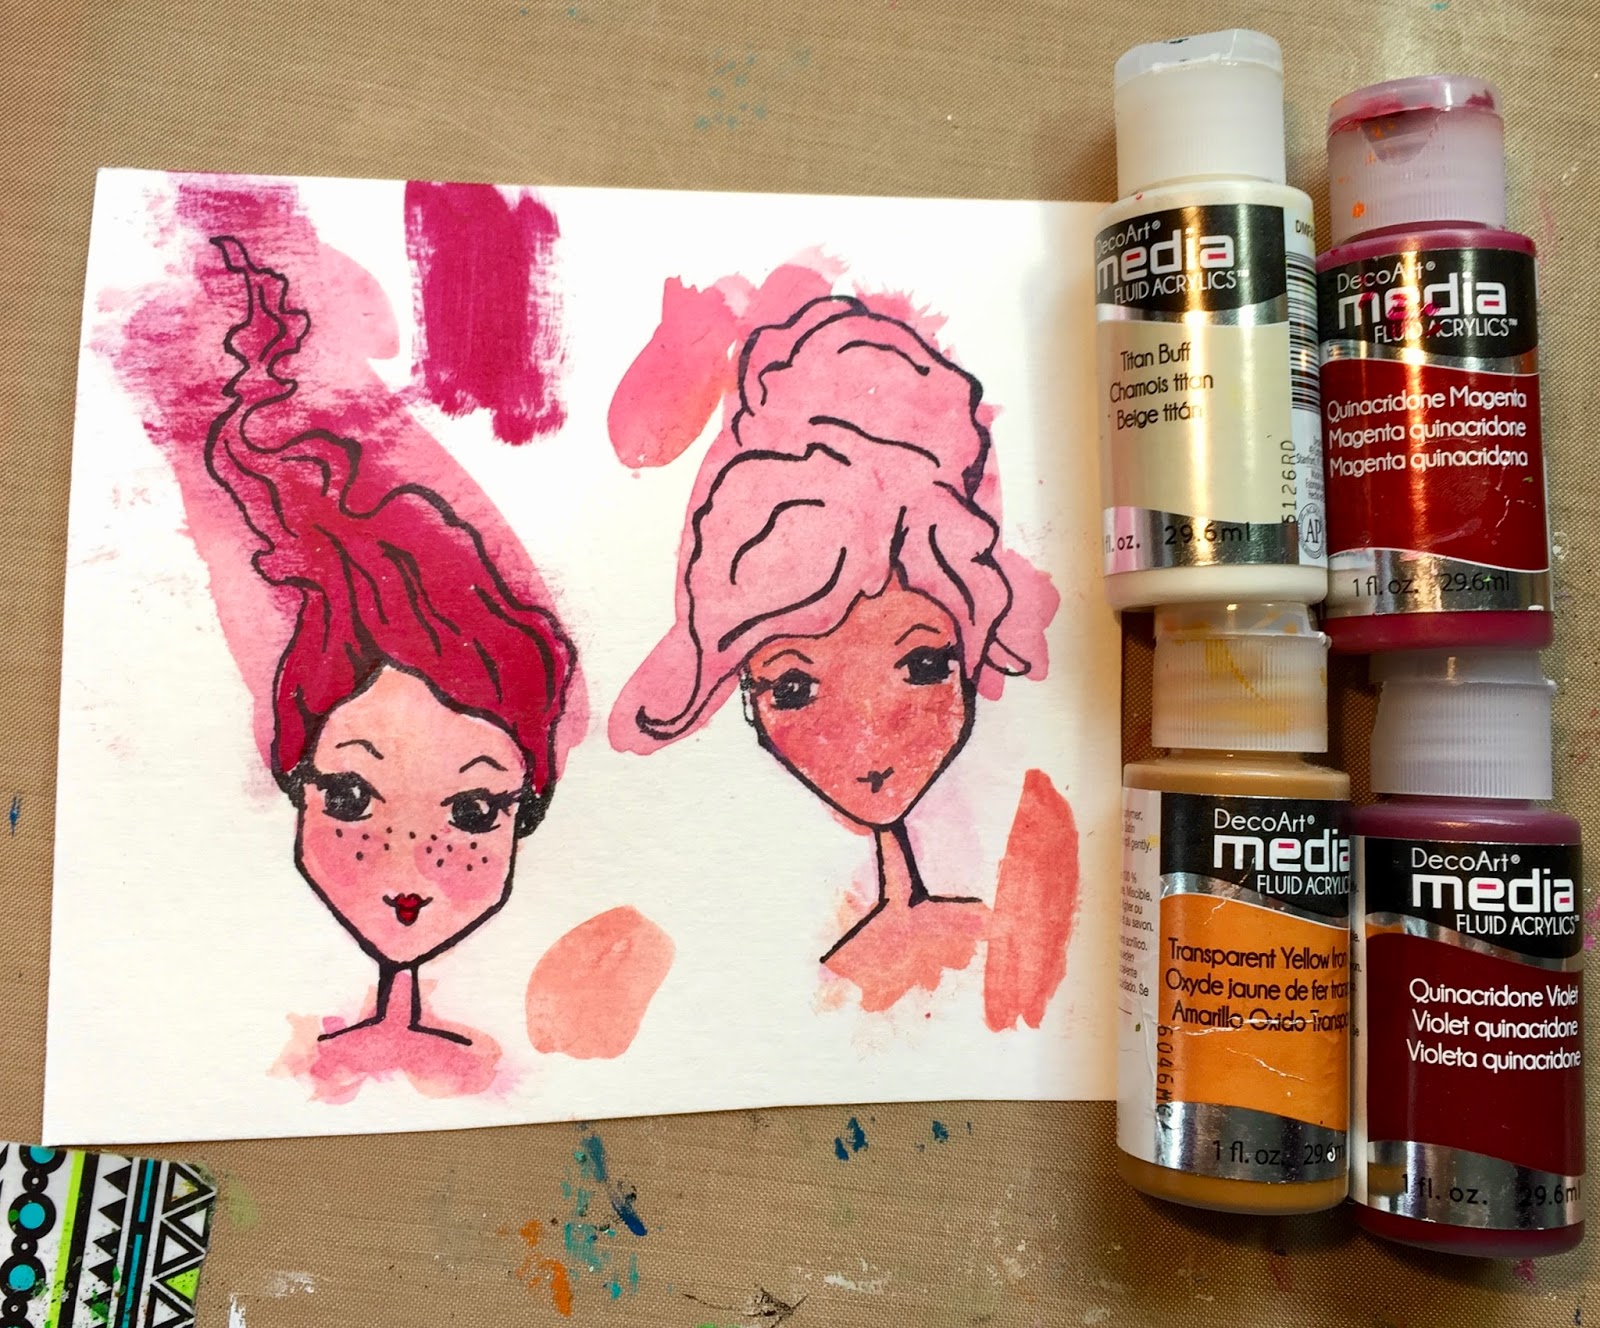
I stamped these wonderful face images from my friend Andrea at Snapping Monsters onto 200 lb. watercolor paper, then mixed colors to get a skin tone and hair. As you will see, I then changed my mind and made one with green hair! I also typed the words onto the heavy paper to cut out, edge with black and use.


View so you can see the layering - green girl and words are popped up once, pink girl is popped twice.


Thanks so much for stopping by! 
Be sure to head on over to OOAK and check out all the fabulous inspiration there! And...LIVE LIFE IN FULL BLOOM!


SUPPLIES:

DecoArt Fluid Acrylics - Yellow Green Light, Green Gold, Quinacridone Magenta, Quinacridone Violet, Cadmium Orange Hue, Transparent Yellow Oxide, Titan Buff

DecoArt Americana - Shrimp, Pink Tropics, Razzle Berry, Bright Salmon, Apple Green, Sea Glass, Snow White, Lamp Black

DecoArt Mediums - Ultra Matte Varnish, Modeling Paste, Gold Rush Metallic Lustre, Carbon Black Mister

Stamps - Snapping Monsters Wonder Girls, Carabelle Studio/Birgit Koopsen “There are always flowers’, “The earth has music”

Stencils - Carabelle Studios/Birgit Koopsen “2Flowers”, “1/58”, “Decoupage”, “Fleurs by Azoline”

Other - canvas board, 200 lb. watercolor paper, brushes, palette knife, heat gun, foam tape, Ranger Jet Black Archival ink, typewriter, black pens, baby wipes, cosmetic sponges


Thursday, April 6

I can Fly Above the Clouds!


So, what's a gal to do when faced with another grey and rainy day? Why play with color of course!! 

I've been itching to try out my new stamp set created by my friend Andrea at Snapping Monsters. It has the cutest girls and words and images galore! Not only do you get the stamp set, but you also get a ton of ideas and inspiration with the stamps, like lots and lots of word combinations (she loves literature) and project samples. 

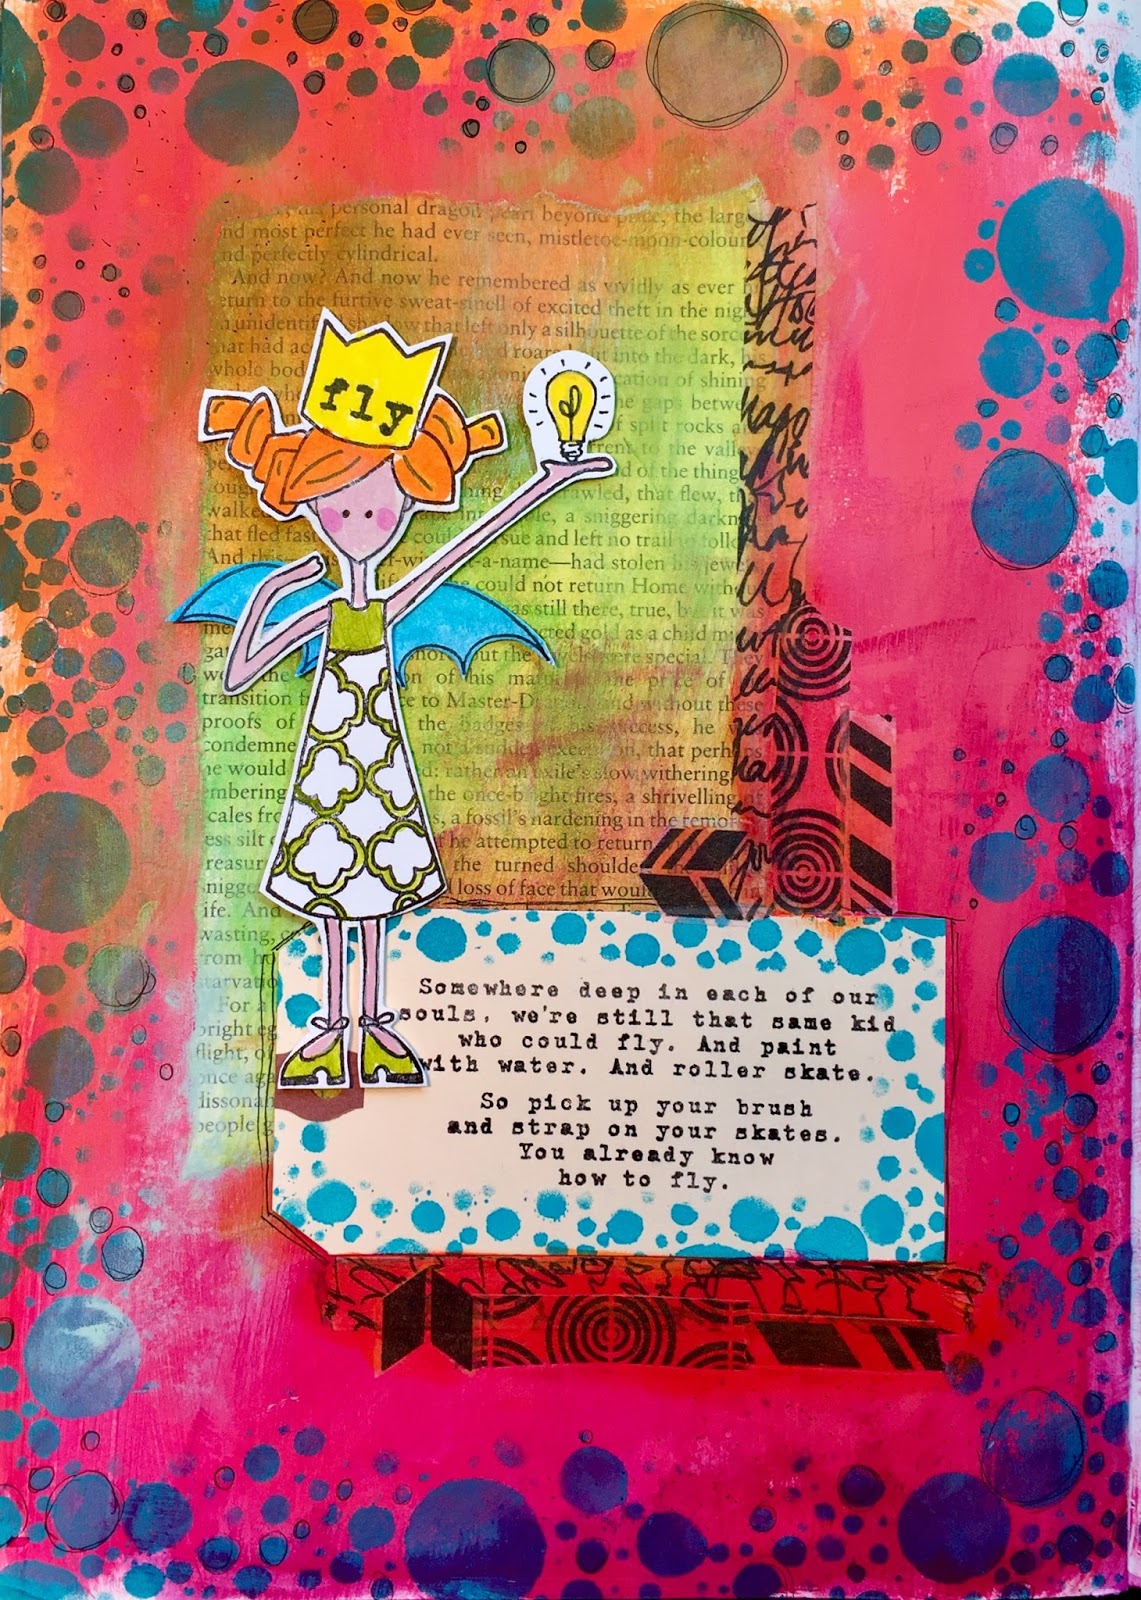
Started off with my trusty MISTI and stamped the girl so I would get a crisp image. Then I added the light bulb and stamped that onto her had, then stamped in the word fly into the crown. The MISTI makes it super simple to layer the images. I did this on heavy watercolor paper with archival ink.


Now for the fun part - bright colors! I really wanted to create a cheerful and sunny page in my art journal, so chose colors accordingly. I used the DecoArt Americana acrylic paints to do the bottom layer and stenciled in the design with Andy Skinner's Bubbles stencil.


I used matte medium and added in a book page, then smudged some paint on that.


Added another layer of color with some Fluid Acrylics...


Then, I tried my hand at painting in my stamped image with the DecoArt Fluid Acrylics. I had not tried this before and was really pleased with how well it worked. I didn't even look to see if the ones I chose were transparent or not! If the paint smudged the line a bit, I just went over it with a black marker.


I love the saying Andrea came up with that I stamped on the tag! It's a great reminder it's ok to still be a kid and play...even if we are many years removed from our childhood. So I layered the images up once I had fussy cut the girl and her wings, and decided to add a few bubbles around the saying too.


Then, I took my black pen and doodled around some of the circles and the tags...but something was still missing.


That's when I remembered my Dina Wakley Media Tape, so tore strips of that to add, and then went over it with a bit of paint.


Thanks Andrea for reminding me to play! I had so much fun with your stamps, and the bright colorful paint. Now, my day doesn't seem quite so dark anymore! 

Materials I used:

Dylusions Journal (large), paints, media tape, brushes, scissors, watercolor paper, heat gun, Ranger Jet Black ink, MISTI


DecoArt Americana Acrylics and Matte Medium


DecoArt Fluid Acrylics


Wednesday, January 11

Make Your Own Planner!

I had already purchased a planner to organize everything this year, but as I started writing things in, I found it wasn't working for me. So, I decided to make my own using drawing paper, acrylic paints, a catalog, and stamps.


I started off by measuring my paper into 2x2" blocks, then stamped in the days of the week and the month with the Tim Holtz Worn Alphabet set.  Closed, the planner is 8.5x11" so I am hoping there is plenty of space to keep track of everything. Next step, use a calendar and copy in the dates. You can also see here that I punched 4 holes and tied it with pretty fibers. 


I used my Gelli plate, acrylic paints, stencils and found objects to paint my cover.


Then, I decided to whitewash it to tone it down a bit so the stamping would show up better.


Front cover: I stamped into the background (dots and splats) and stamped onto sheets from a clothing catalog (like a newsprint) using my good friend Andrea's (at Snapping Monsters) awesome stamp set! You can check out the full set here. I also stamped around the edges with Paper Artsy stamps.


Back Cover: more fun with the stamped images


Closeup details - final step was going in with pens and adding detail.


Now I have my own unique artsy planner to use all year long!


LinkWithin

Related Posts Plugin for WordPress, Blogger...

Pinterest